Contents:
- Understanding What Ranunculus “Bulbs” Actually Are
- The Most Common Reasons Ranunculus Bulbs Are Rotting
- Overwatering Before Root Development
- Poor Drainage Is the Real Culprit
- Planting Too Deep
- Fungal Disease: Botrytis and Fusarium
- Cold, Wet Soil Combination
- Ranunculus Corms vs. Anemone Corms: A Common Mix-Up
- Practical Steps to Prevent Ranunculus Bulbs from Rotting
- What to Do If You Find Rotting Corms Already in the Ground
- FAQ: Ranunculus Bulbs Rotting
- Why do ranunculus corms rot even when I barely water them?
- Can I replant ranunculus corms that have partially rotted?
- Should I soak ranunculus corms before planting?
- Do ranunculus corms rot in pots more often than in the ground?
- How do I store ranunculus corms to prevent rot between seasons?
- Give Your Next Planting a Real Advantage
Ranunculus bulbs rotting is one of the most disheartening discoveries a gardener can make — you planted with care, waited patiently, and instead of lush blooms, you find soft, blackened corms dissolving in the soil. You’re not alone, and you’re probably not doing everything wrong. Ranunculus corms are notoriously sensitive to moisture during their early establishment phase, and a few specific mistakes account for the vast majority of failures.
This article walks through every meaningful cause of rot, how to diagnose which one hit your planting, and what to do differently before your next round.
Understanding What Ranunculus “Bulbs” Actually Are
First, a clarification that matters practically: ranunculus don’t grow from true bulbs. They grow from corms — compact, starchy storage organs that look like tiny dried-out octopuses or bunches of claws. This distinction isn’t just botanical trivia. Corms have different moisture tolerances than bulbs like tulips or daffodils. They are far less forgiving of wet conditions, especially in the early weeks after planting when they haven’t yet developed an active root system to absorb excess moisture.
Treating ranunculus corms like tulip bulbs — planting them and watering generously — is one of the most common routes to rot.
The Most Common Reasons Ranunculus Bulbs Are Rotting
1. Overwatering Before Root Development
Ranunculus corms need moisture to rehydrate and sprout, but they cannot tolerate sitting in wet soil for extended periods before roots develop. In the first two to three weeks after planting, the corm is essentially dormant — it’s absorbing water slowly, not actively transpiring. During this window, soil that stays saturated for more than five to seven consecutive days creates anaerobic conditions that trigger fungal breakdown.
The practical rule: water once at planting, then hold off until you see the first green shoots emerging from the soil. After that, water when the top inch of soil dries out.
2. Poor Drainage Is the Real Culprit
Drainage is the single biggest variable separating successful ranunculus growers from frustrated ones. Clay-heavy soils, compacted beds, and containers without adequate drainage holes all trap moisture around the corm. Ranunculus thrive in well-draining, loamy soil with a slightly sandy texture. If water pools on your garden bed surface for more than 30 minutes after rainfall, your drainage is insufficient for these plants.
Raised beds are the most reliable solution. Elevating your planting area by even 6 to 8 inches dramatically improves drainage and soil temperature — both of which reduce rot risk.
3. Planting Too Deep
The recommended planting depth for ranunculus corms is 2 inches, with the claw-like points facing downward. Planting at 3 or 4 inches places the corm in a zone where soil moisture is more persistent and oxygen levels are lower — both conditions that encourage rot. Shallow planting (less than 1 inch) exposes corms to freeze-thaw cycles but is actually safer from a rot perspective in wet climates.
4. Fungal Disease: Botrytis and Fusarium
Two fungal pathogens cause the majority of rot cases in stored or freshly planted ranunculus corms: Botrytis cinerea (gray mold) and Fusarium species. Botrytis thrives in cool, humid conditions and produces visible gray fuzzy growth on affected tissue. Fusarium causes internal browning and a characteristically unpleasant odor. Both spread rapidly in wet soil and can survive in garden beds for multiple seasons.
If you notice soft spots before planting, dust corms with a sulfur-based fungicide powder or soak them for 30 minutes in a diluted neem oil solution (2 tablespoons per gallon of water) before putting them in the ground.
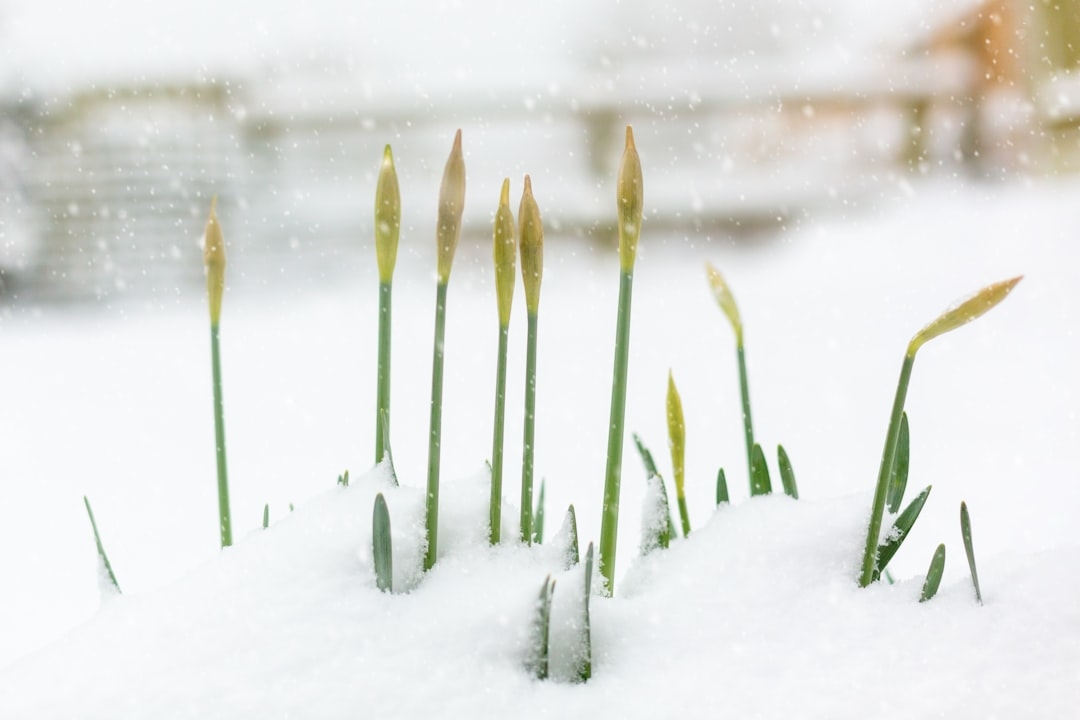
5. Cold, Wet Soil Combination
Ranunculus are cool-season plants, ideally planted when soil temperatures sit between 50°F and 60°F. However, cold soil alone isn’t the problem — cold and wet soil together dramatically slows the corm’s metabolic activity while keeping it surrounded by moisture it can’t absorb. In USDA Hardiness Zones 8–10, fall planting (October through November) hits the sweet spot. In Zones 6–7, spring planting after frost risk passes is safer, but you must monitor soil moisture closely during cool, rainy April weather.
Ranunculus Corms vs. Anemone Corms: A Common Mix-Up
Ranunculus corms are frequently confused with anemone corms at the point of purchase — both are small, irregular, and brownish. The key visual difference: ranunculus corms have distinct claw-like projections on one side (those point down when planting), while anemone corms are flatter and more disc-shaped with no clear orientation. This matters because anemone corms tolerate slightly wetter conditions and are planted differently. Misidentifying your stock and applying anemone care to ranunculus is a direct path to rot.
Practical Steps to Prevent Ranunculus Bulbs from Rotting
- Pre-soak strategically: Soak dry corms in room-temperature water for 3 to 4 hours before planting — no longer. Extended soaking (overnight) softens the exterior tissue and accelerates rot once in the ground.
- Amend your soil: Mix in 20–30% perlite or coarse horticultural sand to improve drainage in dense soils.
- Inspect before planting: Discard any corm that feels mushy, smells sour, or shows discoloration. One rotting corm in a pot can spread Fusarium to its neighbors.
- Avoid mulching immediately: Mulch retains moisture. Wait until active growth is 3 to 4 inches tall before applying any mulch layer, and keep it thin (1 inch maximum).
- Use containers with drainage holes: If growing in pots, ensure at least one drainage hole per 6 inches of pot diameter. Elevate containers on pot feet to prevent pooling under the base.
What to Do If You Find Rotting Corms Already in the Ground
If you dig up corms mid-season and find softening or rot, remove all affected material immediately. Do not compost rotting ranunculus — bag and discard it to avoid spreading fungal spores. Treat remaining healthy corms with a copper-based fungicide drench before replanting in a different location. Do not replant ranunculus in the same bed for at least one full growing season if Fusarium is suspected.
FAQ: Ranunculus Bulbs Rotting
Why do ranunculus corms rot even when I barely water them?
Infrequent watering doesn’t protect against rot if your soil drainage is poor. Heavy clay soils retain moisture from rainfall and ambient humidity long after the surface appears dry. Test drainage before planting: dig a 12-inch hole, fill it with water, and measure how long it takes to drain. It should empty within 1 hour for ranunculus to thrive.
Can I replant ranunculus corms that have partially rotted?
Only if the rot is limited to one section and the remaining tissue is firm and white or cream-colored inside. Cut away all soft tissue with a clean, sterilized knife, dust the cut surface with sulfur powder, allow it to air-dry for 24 hours, then replant. Success rates are low, but it’s worth attempting with expensive or rare varieties.
Should I soak ranunculus corms before planting?
A brief soak of 3 to 4 hours rehydrates shriveled corms and improves germination rates. Do not exceed 6 hours. Soaking overnight makes the outer tissue waterlogged and dramatically increases the chance of fungal rot developing in the soil.
Do ranunculus corms rot in pots more often than in the ground?
Yes, when pots lack proper drainage. Containers with adequate holes and well-draining potting mix actually offer better control than garden beds with compacted soil. Use a mix of 50% premium potting soil and 50% perlite for container-grown ranunculus.
How do I store ranunculus corms to prevent rot between seasons?
After foliage dies back, dig corms carefully, brush off excess soil, and allow them to cure in a warm, dry, well-ventilated area for two weeks. Store in a paper bag or mesh bag (never plastic) filled with dry peat moss or vermiculite at 50°F to 60°F. Check monthly and discard any that show softening.
Give Your Next Planting a Real Advantage
Most ranunculus failures are preventable with a few specific adjustments made before the corm ever touches soil. Prioritize drainage above everything else, time your watering to match actual growth stage rather than a fixed schedule, and inspect every corm before it goes in the ground. Growers who switch to raised beds and pre-treat with a fungicide report dramatically better survival rates — often moving from 40–50% establishment to 85–90% in a single season. Your next planting can be the one that actually blooms.